
Relaxer Aftercare: How to Rebuild & Protect Your Hair After the Chemical Service
By Althea R. Gooden, Board Certified Trichologist
The Final Week in Our Relaxer System Series
Over the past few weeks, we have talked about the relaxer system from beginning to end.
We discussed:
Week 1: Is your hair ready for a relaxer?
Week 2: Choosing the right relaxer for your hair type and texture.
Week 3: How to properly care for and rebuild your hair after the chemical service.
Now we come to one of the most important parts of the entire process:
WHAT HAPPENS AFTER THE RELAXER?
Getting your hair relaxed is only one part of the journey. The aftercare determines how well you maintain the condition of your hair and scalp between chemical services.
Relaxed hair has been chemically altered, so it needs a consistent regimen that focuses on cleansing, conditioning, strengthening, moisture, gentle styling, and protection.
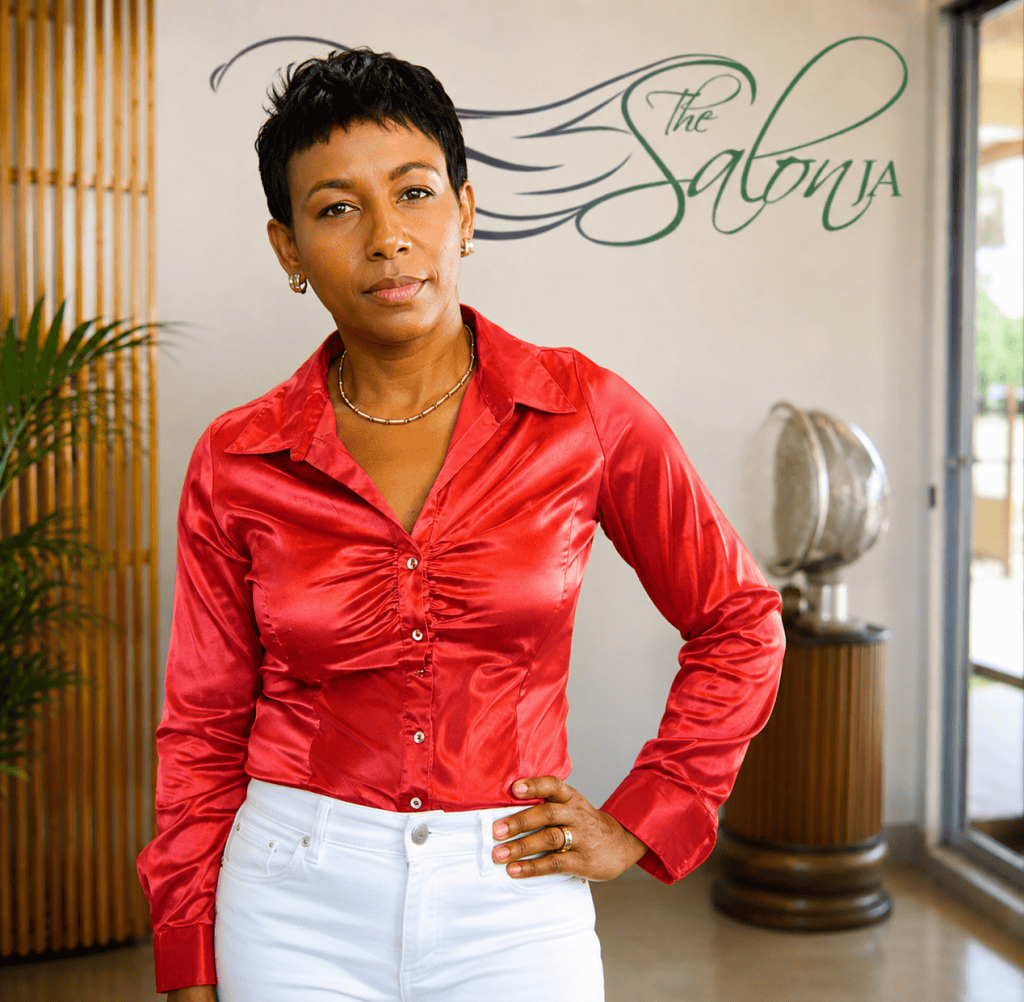
Trichologist recommend using conditioner after shampooing, limiting excessive heat, avoiding tight hairstyles, and having relaxer touch-ups performed professionally and only on newly grown hair. (American Academy of Dermatology)
STEP 1: GIVE YOUR HAIR TIME TO RECOVER
Immediately after a relaxer, your hair has undergone a chemical transformation.
This is not the time to overload the hair with additional chemical services.
Avoid immediately adding another chemical process unless your professional has determined that it is appropriate.
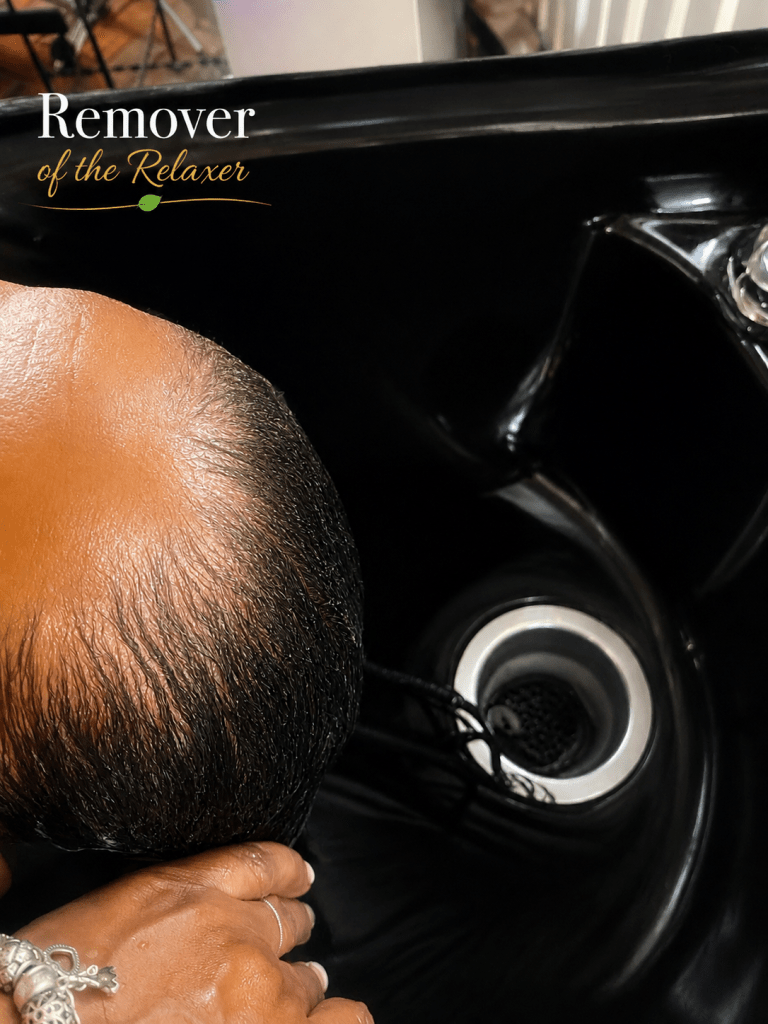
If you also color your hair, careful scheduling is especially important. Professional stylist Or Trichologist recommend spacing chemical services and avoiding unnecessary overlapping of processes to reduce damage. (American Academy of Dermatology)
Your hair does not need more chemistry. It needs care.
STEP 2: RECONSTRUCT AND STRENGTHEN
Approximately one week after the relaxer, this is an excellent time to evaluate the hair and Scalp consider a professional reconstructive or bond-support treatment based on the hair’s condition.
Why?
Because the objective is to help the hair maintain strength and resilience after chemical processing.
A reconstructive treatment should not be thought of as a one-time miracle treatment. It should be part of an overall hair-care program designed around the individual client’s needs.
Remember:
Relax → Reconstruct → Condition → Protect → Maintain.
STEP 3: CONDITION YOUR HAIR
Conditioning should become a regular part of your relaxed-hair routine.
Conditioner helps improve manageability and makes detangling easier.
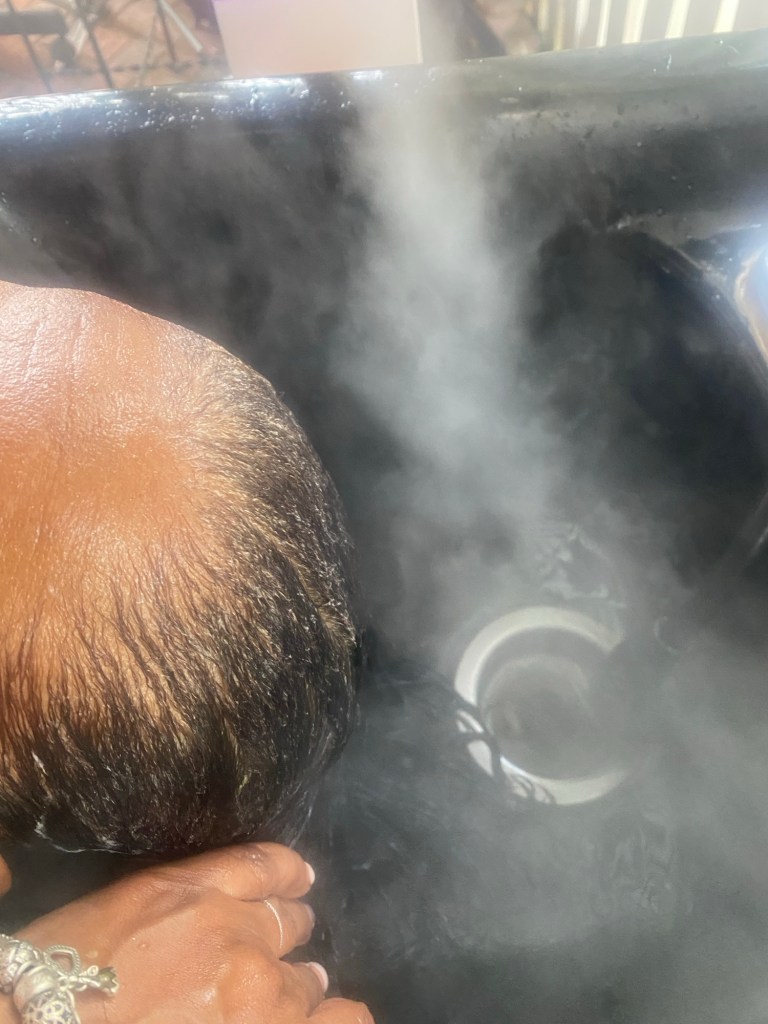
Pay special attention to the mid-lengths and ends, because the ends are the oldest and most fragile portion of the hair. The American Academy of Dermatology recommends conditioning after every shampoo and coating the ends with conditioner. (American Academy of Dermatology)
Do not wait until your hair feels extremely dry before conditioning it.
Prevention is better than trying to repair severely damaged hair later.
STEP 4: BE GENTLE WHEN DETANGLING
Relaxed hair can become fragile when it is repeatedly pulled, tugged, brushed, or manipulated.
Use gentle techniques when detangling.
Start at the ends and gradually work upward.
Avoid aggressively pulling through knots.
The goal is to remove tangles—not remove hair.
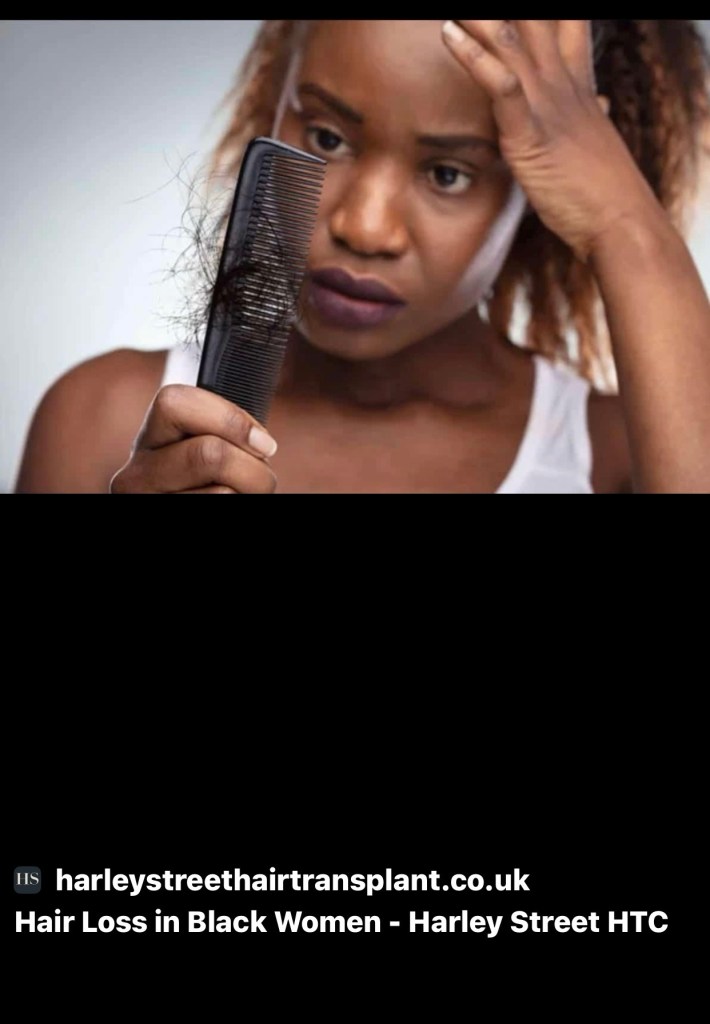
Trichologist recommend gentle detangling and avoiding unnecessary tugging because damaged hair is more likely to break. (American Academy of Dermatology)
STEP 5: CONTROL THE HEAT
One of the biggest mistakes made after a relaxer is excessive heat.
Flat irons, curling irons, blow dryers, and other heated tools can add additional stress to chemically processed hair.
If heat is necessary:
- Use a heat protectant.
- Use the lowest effective temperature.
- Avoid repeatedly passing the iron over the same section.
- Give the hair a break between heat-styling sessions.

Trichologist recommend limiting heat and using the lowest temperature that achieves the desired style. (American Academy of Dermatology)
Relaxed hair does not need to be flat-ironed every day to look beautiful.
STEP 6: PROTECT YOUR ENDS
Your ends are the oldest part of your hair.
They have been exposed to environmental conditions, styling, manipulation, and chemical services longer than the new growth.
Protect them.
Avoid excessive brushing and manipulation.
Choose styles that do not place unnecessary tension on the hair.
And when your ends become excessively split or damaged, speak with your professional about trimming.
STEP 7: DON’T OVERLAP THE RELAXER
This is one of the most important rules of relaxed-hair maintenance.
Relax the new growth—not the previously relaxed hair.
Repeatedly applying relaxer over hair that has already been chemically processed can contribute to weakening and breakage.
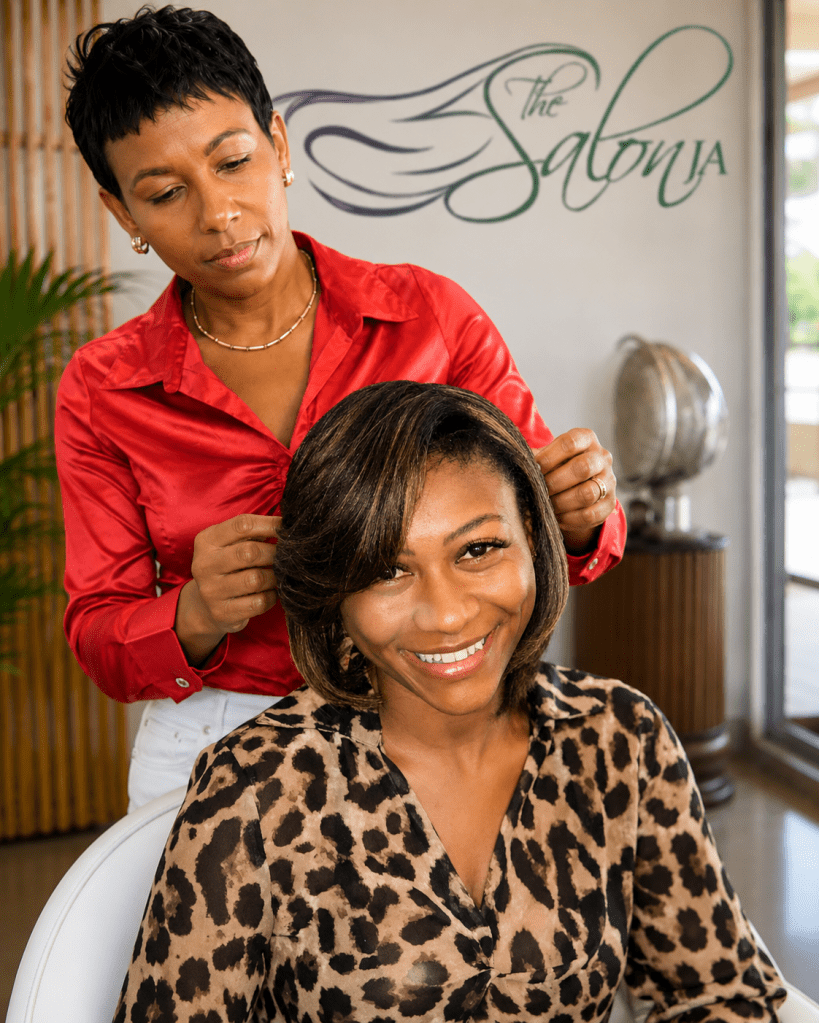
The American Academy of Dermatology recommends professional relaxer touch-ups every two to three months and applying the relaxer only to newly grown hair. (American Academy of Dermatology)
Your exact schedule should be individualized according to your rate of growth and the condition of your hair and scalp.
STEP 8: PAY ATTENTION TO BREAKAGE
Do not ignore excessive hair on your clothing, pillow, bathroom floor, or comb.
Some shedding is normal, but breakage is different from normal shedding.
Look at the hair that is coming out.
If you are seeing many short pieces of hair, excessive snapping, thinning areas, or significant changes in your hair density, it is time to have your hair and scalp evaluated.

The AAD advises seeking professional evaluation when you notice changes in hair texture, appearance, thinning, or hair loss. (American Academy of Dermatology)
STEP 9: TAKE CARE OF YOUR SCALP
Healthy hair begins with a healthy scalp.
Your scalp should be cleansed regularly according to your scalp and hair needs.
Avoid scratching, excessive manipulation, and irritating products.
If you develop persistent itching, burning, scaling, sores, inflammation, or unexplained hair loss, don’t simply cover the problem with another hairstyle.
Find the cause.
A scalp condition may require evaluation by a Trichologist or other appropriate healthcare professional.
THE 3-WEEK RELAXER SYSTEM
Let’s bring the entire series together.
WEEK 1 — PREPARE
Assess the hair and scalp.
Determine whether you are a suitable candidate.
Strengthen and prepare compromised hair before the chemical service when appropriate.
WEEK 2 — RELAX
Choose the appropriate relaxer system.
Protect the scalp.
Apply to new growth.
Follow the manufacturer’s processing instructions.
Rinse thoroughly.
Reconstruct.
Neutralize properly.
Condition and style.
WEEK 3 — REBUILD
Evaluate the hair.
Reconstruct and strengthen as appropriate.
Condition.
Moisturize.
Protect the ends.
Reduce excessive heat and manipulation.
Monitor for breakage.
Continue maintaining the scalp and hair between services.
THE ALTHEA GOODEN RULE
DON’T JUST RELAX YOUR HAIR.
PREPARE IT.
PROTECT IT.
REBUILD IT.
MAINTAIN IT.
A relaxer should never be viewed as simply a chemical product.
It is part of a hair-care system.
The healthiest relaxed hair is not necessarily the straightest hair. The goal is hair that remains manageable while maintaining as much strength and integrity as possible.
Healthy hair is a process—not a single appointment.
FINAL MESSAGE
Thank you for following my Relaxer System Series on Hair Blog 2020.
I hope these three weeks have helped you understand that maintaining relaxed hair requires more than simply booking your next touch-up.
Before your next relaxer, ask yourself:
Is my scalp healthy?
Is my hair strong enough?
Am I using the correct relaxer system?
Am I applying it only to the new growth?
Am I rebuilding my hair after the chemical service?
Am I doing enough to prevent breakage?
If you cannot answer these questions, it’s time to speak with a professional.
For more hair and scalp education, continue reading at:
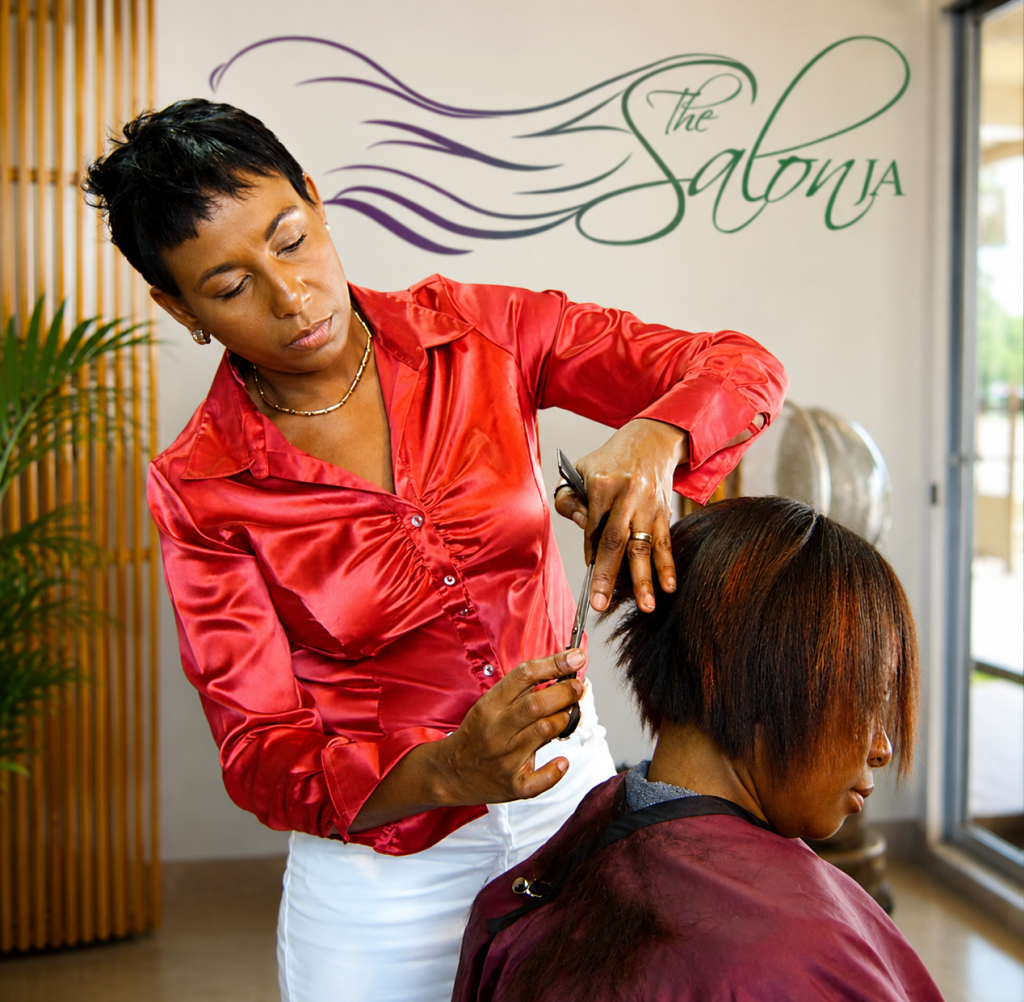
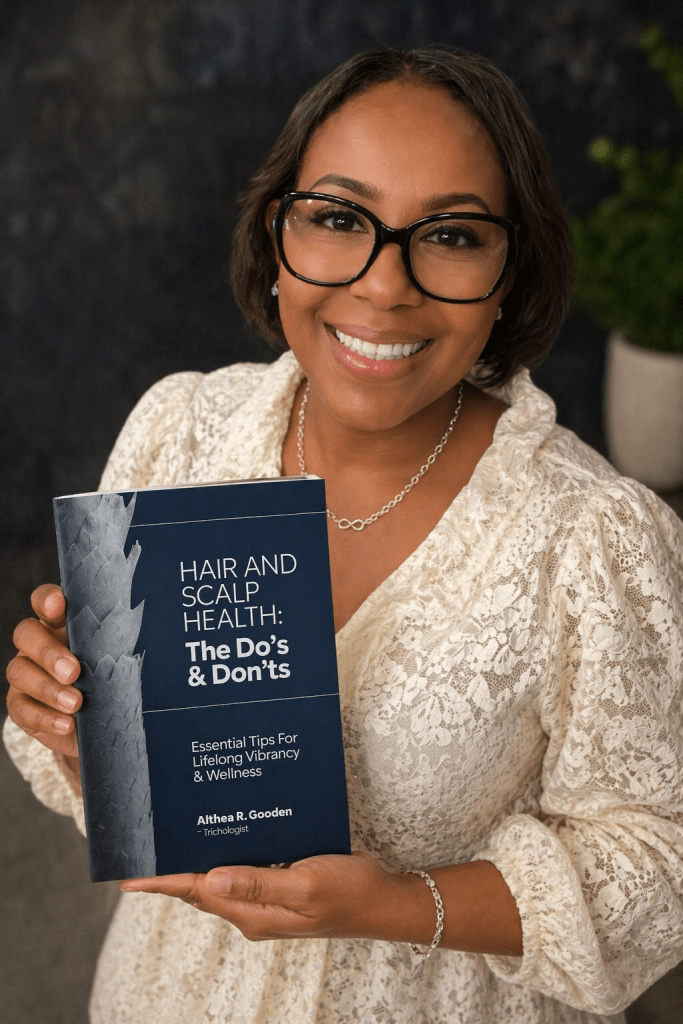
And for additional education, look for Hair & Scalp Health Do’s & Don’ts: Essential Tips for Lifelong Vibrancy and Wellness on Amazon.
— Althea R. Gooden Board Certified Trichologist